There are few words that can come close to describing the euphoria of a successful hunt. Bringing home a deer that was hunted and dressed by yourself satisfies a primal and biological part of our very being. And eating a venison dinner that you provided, truly from scratch, is one of the most satisfying experiences one can have.
Table of Contents
But before you can enjoy the meat, you must first learn how to properly dress the deer.
Dressing a deer can seem intimidating at first, but with the right knowledge and tools, it can be a straightforward process. In this guide, we’ll walk you through the steps of field dressing a deer so that you can do it quickly, efficiently, and with minimal mess.

Why is it Important to Field Dress Deer?
When a deer is killed, its body begins to cool down, and bacteria immediately start to grow. This leads to spoilage and contamination of the meat if not addressed immediately, which can cause illness or even death if consumed.
By field dressing the deer, the internal organs and other non-edible parts of the animal are removed which then heavily reduces the risk of bacterial growth and preserves the meat.
Field dressing also helps to improve the taste and texture of the meat. When the internal organs are left inside the animal, they release enzymes and bacteria that can cause the meat to become tough and gamey. By removing these parts, the meat will be properly aged and prepared for consumption, resulting in a more flavorful and tender final product.
In addition to practical reasons, field dressing a deer is also a matter of respect for the animal. By properly dressing the deer and using as much of the animal as possible, you honor the animal’s life and ensure that it does not go to waste. It is a way of showing appreciation for the natural world and the food that it provides.
How to Field Dress a Deer
Before we dive into the process, let’s cover some of the essential tools you’ll need. Here’s a list of the things you’ll want to have on hand before you start:
- A sharp hunting knife or gutting knife
- A bone saw or cleaver
- A pair of latex gloves
- A plastic bag to hold the organs
- A bucket of clean water or a hose for rinsing (unless you are close to a creek or river)
Now that you have your tools, let’s get started!
Step 1: Secure the Deer
The first thing you’ll want to do is to make sure the deer is secure.

If you have a game hoist, use it to lift the deer off the ground by the hind legs. Alternatively, you can tie a rope around the deer’s hind legs and hang it from a sturdy tree branch. This will make it easier to access the deer’s underside.
If not, steady the deer on it’s back. The most important part is that you have access to the deer’s underside, from the anus to the upper chest. The steadier the deer is, the easier the process – which is why we recommend having a game hoist, although not necessary.
Step 2: Make the Incision
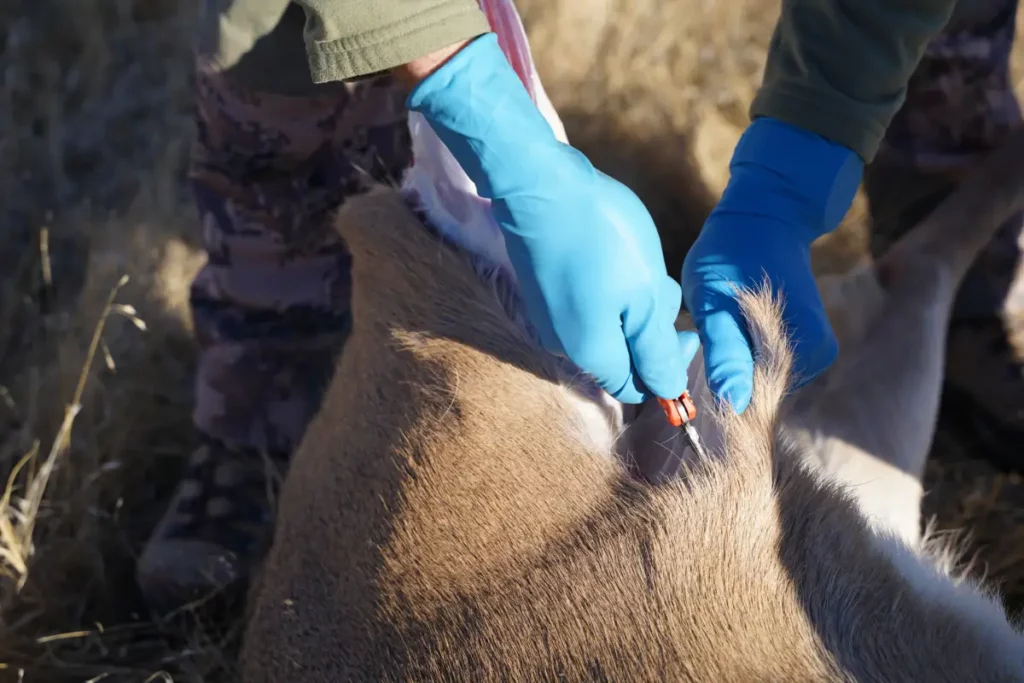
Put on your gloves and use your knife to make a shallow incision from the deer’s anus up to its chest. Be careful not to cut too deep or you risk puncturing the organs. This incision will allow you to access the deer’s internal cavity.
Take your time. A common mistake a lot of new hunters make is to grab the knife and cut up the deer too quickly and roughly, as if you were gutting a fish. Take your time and slowly cut away at the hide half an inch at a time to ensure that both the hide and what lies underneath stays intact.
Step 3: Remove the Organs
Next, you’ll want to remove the organs. Start by cutting around the anus to free it from the surrounding tissue. Then, using your knife or your hands, carefully separate the organs from the abdominal wall. Keep the organs intact as much as possible, as you’ll want to inspect them later for signs of disease.
Place the organs in the plastic bag and set it aside. You can dispose of them later or use them for bait if you’re planning to hunt predators.
Step 4: Cut the Diaphragm
Now it’s time to cut the diaphragm, which separates the chest cavity from the abdominal cavity. Use your knife to cut through the diaphragm all the way around the rib cage. Be careful not to cut the esophagus or trachea, which run along the top of the diaphragm.
Step 5: Remove the Esophagus and Trachea
With the diaphragm cut, you’ll now be able to access the esophagus and trachea. Use your knife to cut them as close to the deer’s head as possible, and then pull them out through the incision.
Step 6: Remove the Heart and Lungs
Now it’s time to remove the heart and lungs. Reach into the chest cavity and use your knife to cut the connective tissue holding them in place. Be sure to remove them intact, as you’ll want to inspect them for signs of disease as well.
Step 7: Remove the Blood
With the organs removed, it’s time to clean out the rest of the cavity. Use a hose or bucket of clean water to rinse out the inside of the deer, removing any blood or debris.
Step 7B: How do you clean the deer if you do not have access to a hose or bucket?
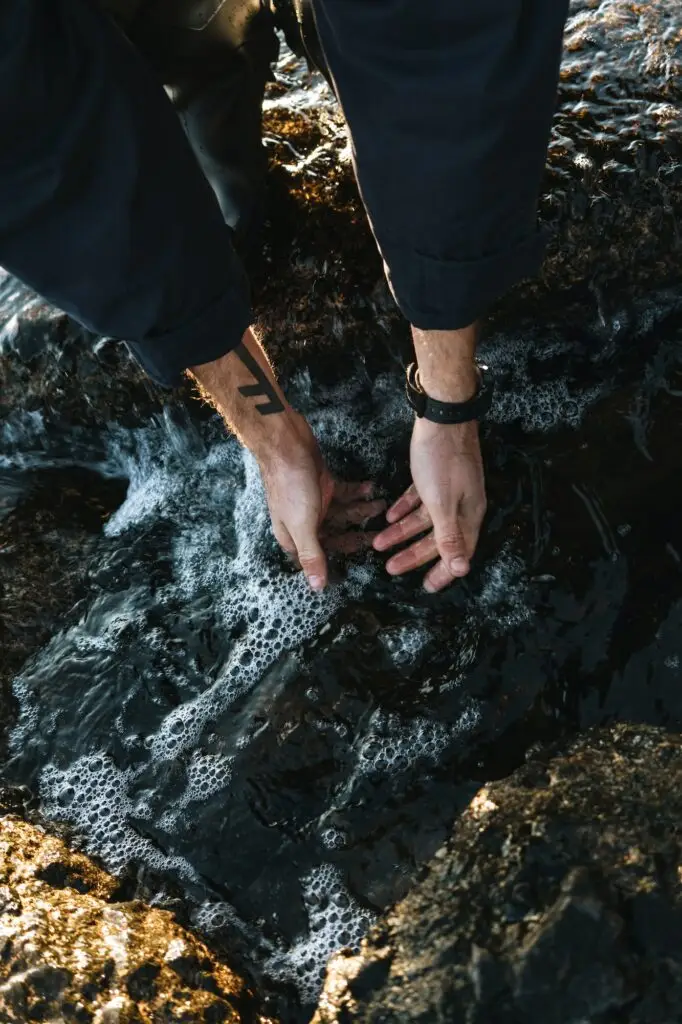
If you do not have a hose or a bucket, but you are close to a water source, the process will look a little different. Either way, it’s important you locate the nearest water source and clean out the deer regardless of the hassle – this is an incredibly important part of the dressing process.
Once you find a natural water source, such as a lake or river, follow these steps:
- Position the deer’s carcass so that the opening where the organs were removed is facing downwards towards the water source.
- Use a stick or a small rock to scrape out any remaining debris from the cavity.
- With the carcass still facing downwards towards the water source, splash water onto the inside of the cavity using your hands, or by scooping water with a container such as a cup or a bottle.
- Scrub the inside of the cavity using your hands to dislodge any remaining blood or debris.
- Repeat the splashing and scrubbing process until the inside of the cavity appears to be clean.
- Turn the deer over and repeat the process on the outside of the carcass.
- Once you are satisfied with the cleanliness of the carcass, prop it up so that it can drain out any excess water.
Step 8: Inspect the Meat
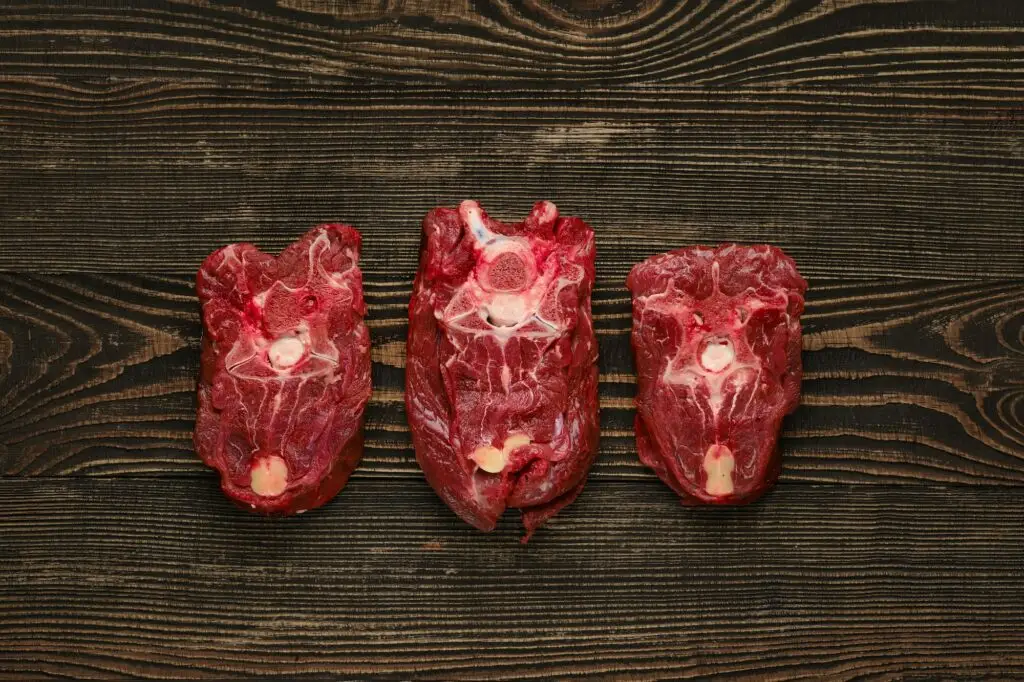
Finally, it’s time to inspect the meat. Use your knife to trim away any excess fat or connective tissue, and then rinse the meat thoroughly with clean water. You can also use paper towels or a clean cloth to dry the meat. This will help prevent bacteria growth during transportation and storage.
Inspect the meat for any signs of damage or disease, such as discoloration, odor, or abnormal texture. If you notice anything suspicious, it’s best to err on the side of caution and dispose of the meat. It’s better to lose a little meat than to risk getting sick!
Step 9: Transport and Store the Meat
Once you’ve inspected the meat, it’s time to transport and store it properly. Keep the meat as cool as possible during transport, using ice packs or a cooler to maintain a temperature of 40 degrees Fahrenheit or lower.
When you get home, store the meat in a cool, dry place, such as a refrigerator or a freezer. If you’re planning to eat the meat within a few days, you can store it in the refrigerator. Otherwise, freeze it for long-term storage.
Step 10: Clean Up
After you’ve finished dressing the deer, it’s important to clean up properly. Rinse your tools and equipment thoroughly with hot, soapy water, and then disinfect them with a solution of one part bleach to nine parts water. This will help prevent the spread of disease and bacteria.
Dispose of the plastic bag containing the organs properly, and don’t leave any parts of the deer behind. You don’t want to attract predators or cause a nuisance to others who may use the area.
Field Dressing Video Guide
If you’re more of a visual learner, I found this video guide by MeatEater to be incredibly helpful. The video shows everything covered in this guide with a real-life example, and is expertly executed!
Enjoy Your Harvest!
Field dressing a deer is an essential skill for any hunter. With the right tools, knowledge, and technique, it can be a straightforward process that ensures your meat is safe to eat and of the highest quality.
Remember to always handle the meat with care, inspect it for signs of disease, and transport and store it properly.
We hope that you found this guide helpful. With these tips, you’ll be well on your way to becoming an Elite Hunter.
Looking for more resources regarding field dress? Check out the Missouri government website for some extra tips, tricks and illustrations here.
Looking for other hunting tips? Check out our other guides here!
Happy Hunting!

