If you’re a hunter or a lover of game birds, knowing how to clean a grouse is an essential skill you just

gotta learn at some point. While it may seem daunting at first, with a little practice and the right tools, it’s a relatively simple process that can be done both at home and in the field.
Table of Contents
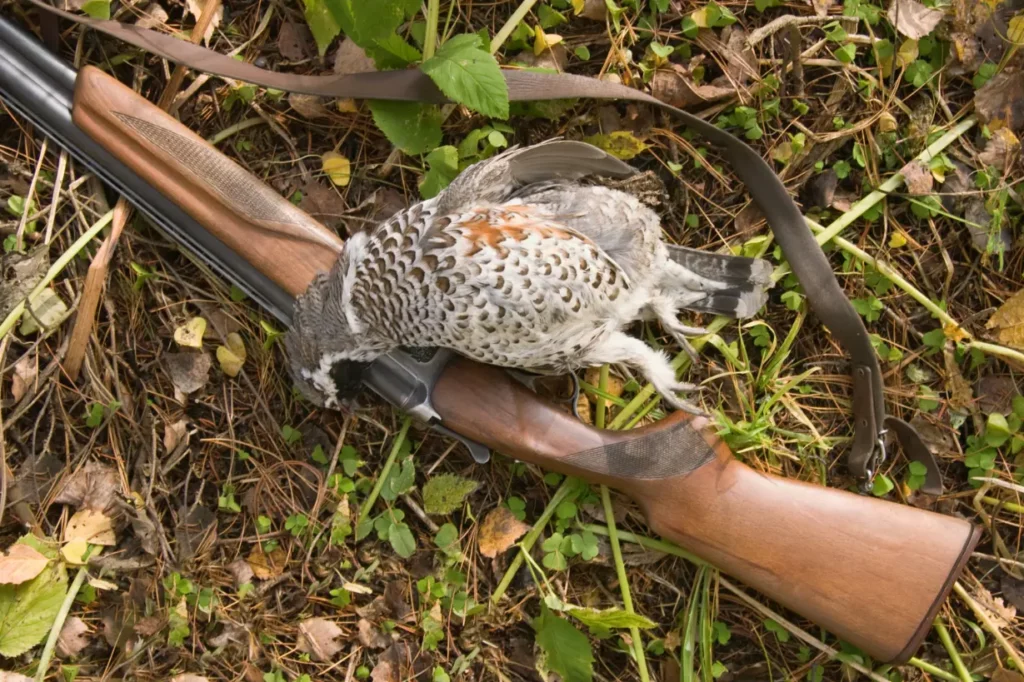
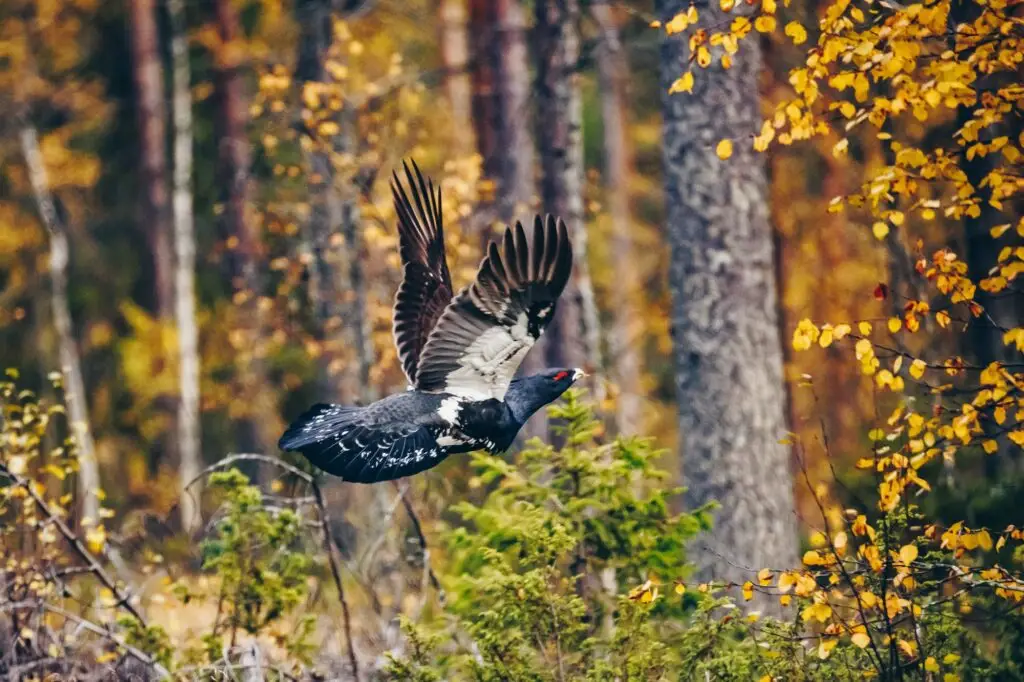
My family has been hunting grouse for centuries. Back in Norway, we’d take our dogs out for week-long treks through the Northern Norwegian wilds, and our pointers would get to work to spot where the nests were hiding.
My first kill was a grouse, and naturally, also the first animal I ever had to clean. Since my uncle isn’t here to teach you how to do it himself, we’ll be going through how to properly clean grouse step-by-step instead, so you’re ready to take care of business like a pro when it’s your turn!
How To Clean Grouse
Materials Needed:
- A sharp hunting knife
- A pair of kitchen shears or poultry shears
- A clean cutting surface
- A bowl or container for the cleaned meat
- Cold water (your own or natural water source)
Step 1: Pluck the feathers
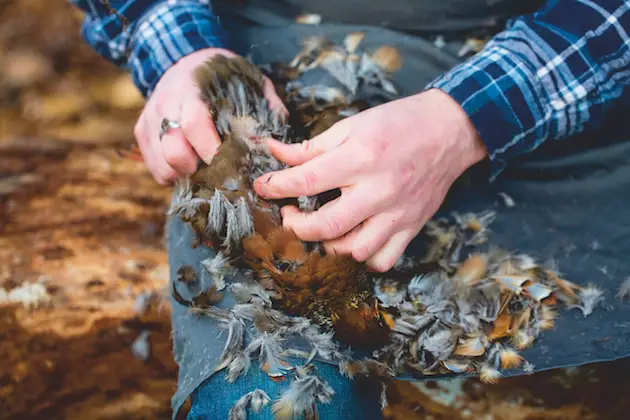
Begin to clean the grouse by plucking the feathers from the grouse. To make the process easier, it’s best to pluck the feathers while the bird is still warm. This can be done in the field or immediately after returning from the hunt. If you’re plucking the feathers at home, you can dunk the bird into hot water for a few seconds to help loosen the feathers.
To pluck the feathers, grasp a clump of feathers and pull them out in the direction opposite of their growth. Start with the larger feathers on the wings and tail, and then move to the smaller feathers on the body. Be sure to remove all the feathers from the body, including the wings and tail.
When plucking the feathers, pull them in the direction opposite of their natural growth. This will make it easier to remove them without damaging the skin!
Step 2: Remove the head and feet
Next in cleaning the grouse, use the shears or knife to remove the head and feet. Hold the bird by the legs and cut through the skin and tendons around the base of the neck and feet. Remove the head and feet from the body and discard.
Make sure you have a way to dispose of the waste since leaving them out can attract other animals and become a health hazard
Step 3: Cut off the wings
Using the shears or knife, cut off the wings at the first joint, where they attach to the body. Discard the wings. If your state requires wings to stay attached, naturally, leave it attached.
Step 4: Make an incision
Using the knife, make a shallow incision in the grouse skin just below the breastbone, being careful not to cut too deep and damage the internal organs. This incision will allow you to remove the internal organs without damaging the meat.
Step 5: Remove the internal organs
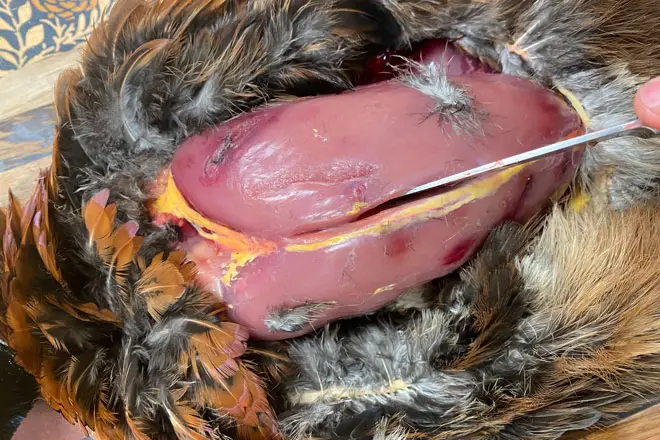
Use your fingers to carefully pull out the internal organs, including the heart, lungs, liver, and intestines. Start by reaching into the cavity and loosening the organs with your fingers. Then, gently pull the organs out of the cavity, being careful not to puncture the organs and release any fluids onto the meat.
If you’re not sure how to identify the internal organs, you can refer to the diagram below for guidance. It’s important to remove all of the internal organs, as leaving any behind can result in a bitter taste in the meat (and potential bacteria that can cause foodborne illness).
Step 6: Clean the meat
Rinse the meat under cold water to remove any remaining blood or debris. Be sure to rinse the cavity thoroughly to remove any traces of internal organs. You can also use a paper towel to gently wipe the inside of the cavity.
After rinsing, pat the meat dry with paper towels. You may also want to trim any excess fat or connective tissue from the meat depending on your bird.

Step 7: Cut into serving pieces
Using the knife, cut the meat into serving pieces, such as breasts, thighs, and legs. You can also leave the meat whole if you prefer.
Step 8: Store the meat
Place the cleaned meat into a clean container and store in the refrigerator or on ice until ready to cook. It’s important to keep the meat cold to prevent spoilage.
Grouse Cleaning Video Guide
More of a visual learner? Yeah me too. Here’s a great video by UnderFortyYards that I’ve shown to lots of people when teaching how to clean grouse.
When Should You Clean Grouse?
It’s best to clean a grouse as soon as possible after harvesting it as the bird’s body heat can cause the meat to spoil quickly, especially in warm weather. Cleaning the bird immediately after harvesting it also makes the cleaning process significantly easier, as the feathers will be easier to pluck and the internal organs will be easier and less messy to remove.
Since it is significantly below freezing in Northern Norway during fall, we once did the mistake of waiting till the evening to clean the grouse we’d harvested that day. Big mistake, as it became significantly more difficult to do an otherwise simple process. After that trip, we always take care of the grouse within an hour or two!
If you’re not able to clean the bird right away, you can place it in a cooler with ice to keep it cool until you’re able to clean it. The most important thing is to at least avoid letting the bird sit at room temperature for an extended period of time, as this can lead to spoilage and a loss of quality in the meat. And even if you do wait till the bird is cool, it’s still a pretty easy process
How Long Does Grouse Last After Cleaning?
After you’ve cleaned your grouse, it should be stored in the refrigerator at 40°F or below, and consumed within 3-4 days. If you don’t plan on cooking the bird in that timeframe, it’s best to just freeze it. A frozen grouse can last up to about 6 months in the freezer.
When it comes to wild game like this, always err on the safer side. For grouse hunts, we always bring an extra cooler to store the birds in to ensure that it stays cool and safe till we can get them in the pan.
State Regulations on Grouse Cleaning
Please be aware that there are some extra regulations in place regarding the cleaning of grouse in certain states. For example, in California, the Department of Fish and Wildlife requires hunters to keep the fully feathered wing attached to the bird while in transit from the field to the hunter’s home or a licensed game processor.
In Montana, hunters are also required to leave one fully feathered wing attached to the bird while in transit, but the wing may be removed after arriving at the hunter’s home or a licensed game processor. In addition, Montana requires that all game birds, including grouse, must be transported in a manner that prevents spoilage or waste of the meat.
Before going grouse hunting, make sure you check your local states laws on small game harvesting, cleaning and transportation!

What you should remember
Cleaning grouse may not be the most enjoyable part of a hunting expedition, yet it is an essential step in honoring your game. If you don’t take care to clean and process the meat quickly, it can spoil and its life will have been lost for naught. As with dressing deer or gutting fish, proper cleaning practices are critical if you hope to make full use of what nature has provided!
While it may take some practice to become comfortable with the process, with these step-by-step instructions, you’ll soon be able to enjoy the delicious flavor and satisfaction of one of the most uniquely delicious birds out there.
Looking to clean any other animals? Check out our library of other hunting guides here.
Happy hunting!
