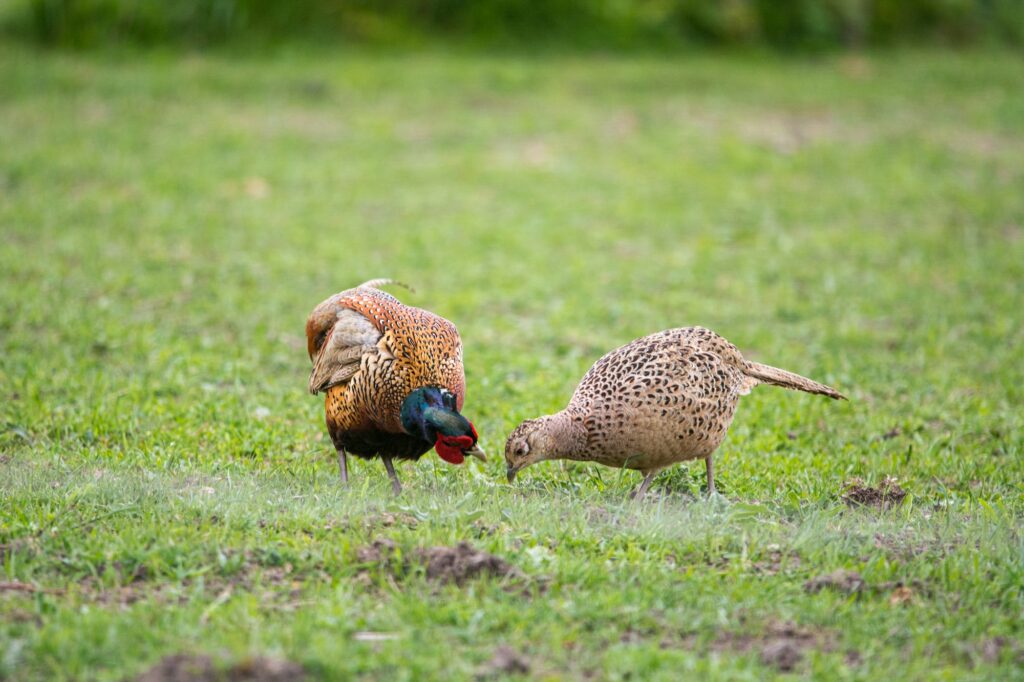
Cleaning a pheasant is an important step in getting your fresh kill ready for cooking. Not only does it

remove any dirt or bacteria that might be present, but it also significantly enhances the taste and texture of the meat.
Table of Contents
We are well aware that for many hunters, this is their least favorite part of the hunting experience. There is no doubt that cleaning a fresh kill can seem like a daunting task, but don’t worry! In this guide, we’ll show you how to clean a pheasant step-by-step, including the plucking, skinning, and gutting methods.
Remember, practice makes perfect, and after you’ve done the process a couple of times it’ll eventually become second nature. Even the most squeamish of hunters will dig out those organs with ease after a while, and I know that because I was one of them.
With these tips, you’ll be able to enjoy the delicious flavor and satisfaction of one of the most classic game birds there is. So, roll up your sleeves, grab your bird, and let’s get started!
Cleaning Method #1: Plucking the Pheasant
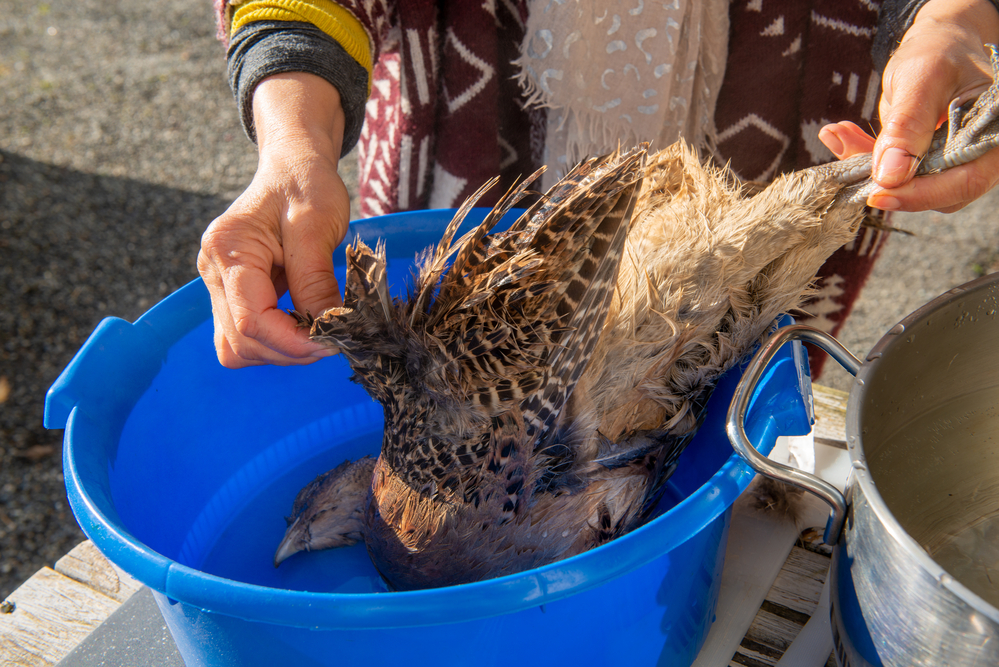
One of the most common methods for cleaning a pheasant is to pluck the feathers. This method is relatively straightforward, and it leaves the skin intact, which can help to keep the meat moist and flavorful (which is why it’s our preferred method).
Step 1: Remove the head and feet
Start by removing the head and feet of the pheasant. Use a sharp knife or poultry shears to cut through the joints and remove them. Make sure you have a way to dispose of the waste since leaving them out can attract other animals and become a health hazard!
Step 2: Pluck the feathers
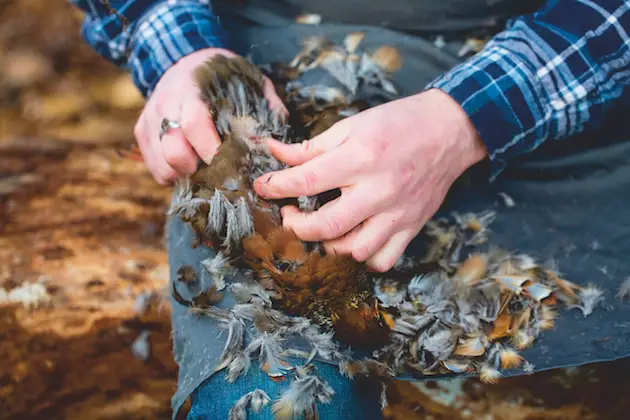
Next, pluck the feathers from the body of the pheasant. This can be done by hand or with a plucking machine. Be sure to remove all the feathers, including those on the wings, legs, and head. When plucking the feathers, pull them in the direction opposite of their natural growth. This will make it easier to remove them without damaging the skin!
Step 3: Remove the internal organs
Make a small incision in the skin of the pheasant near the vent (the opening through which the bird excretes waste)(I’m really putting in a lot of effort to not use more fun words here). Insert your fingers into the opening and carefully pull out the internal organs, including the heart, lungs, liver, and digestive tract. Be sure to remove all the organs and discard them.
Step 4: Rinse the bird
Rinse the pheasant thoroughly in cold, running water to remove any remaining blood or debris. A creek or river is great, but you can also just use a water bottle with either your own water or a nearby natural source.
Cleaning Method #2: Skinning
Another method for cleaning a pheasant is to skin it. This method is faster than plucking, and it can be a good option if you plan to use the meat for recipes that don’t require the skin. Why you would ever not use the skin in cooking, I don’t know, but I was raised to hate the sin, not the sinner – so I accept you for who you are. Promise.
Step 1: Remove the head and feet
The first step is the same as the other methods. Remove the head and feet of the pheasant. Use a sharp knife or poultry shears to cut through the joints and remove them.
Step 2: Make a cut
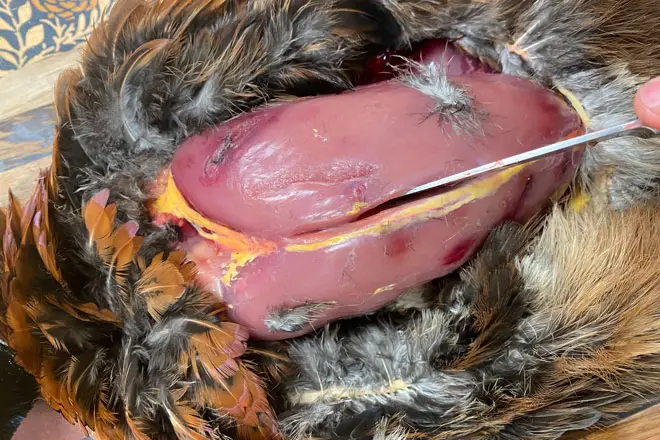
Make a cut down the middle of the pheasant’s back with a sharp knife. Be sure to cut through the skin and the flesh, but be careful not to puncture the internal organs! Puncturing the internal organs will cause spilling onto the meat, which can introduce harmful bacteria in the meat that will not only affect the taste and texture but is also sure to give you the runs.
Step 3: Remove the skin
Gently pull the skin away from the flesh of the pheasant, using a sharp knife to help separate any areas that are stuck. Be sure to remove all the skin, including that around the wings, legs, and head.
Step 4: Remove the internal organs
Make a small incision in the skin of the pheasant near the vent (again, the opening through which the bird excretes waste). Insert your fingers into the opening and carefully pull out the internal organs, including the heart, lungs, liver, and digestive tract. Be sure to remove all the organs and discard them.
Step 5: Rinse the bird
Rinse the pheasant thoroughly in cold, running water to remove any remaining blood or debris. Again, a creek or river is great, but you can also just use a water bottle with either your own water or a nearby natural source.
Cleaning Method #3: Gutting
Gutting a pheasant involves removing only the internal organs, without removing the feathers or skin. This method is fast and easy, but it can be messy and may not be suitable for all cooking methods (think slow-cooking or braising).
Step 1: Remove the head and feet
The first step is the same as the other methods. Remove the head and feet of the pheasant. Use a sharp knife or poultry shears to cut through the joints and remove them.
Step 2: Make an incision
Make a small incision in the skin of the pheasant near the vent (the opening through which waste is expelled). Be careful not to puncture any organs as you do this.
Step 3: Reach in and remove the organs
Insert your fingers into the incision and carefully pull out the organs, including the heart, lungs, liver, and intestines. Be sure to remove all of the organs, as any remaining pieces could affect the flavor of the meat.
Step 4: Rinse the cavity
Once you’ve removed all of the organs, rinse the cavity of the pheasant with cold water to remove any remaining debris or blood.
Step 5: Pat dry
Pat the pheasant dry with paper towels or a clean cloth.
Once you’ve gutted the bird, you can either cook it immediately or store it in the refrigerator for up to a few days.
Video Guide: How to Clean Pheasant
More of a visual learner? No worries. I found this video by CookingClubofAmerica to be incredibly helpful. Check it out!
When Should I Clean The Pheasant?

It’s important to clean a pheasant as soon as possible after you’ve killed it. This is because bacteria can begin to grow on the surface of the bird’s skin and inside its body cavity within a matter of hours, particularly if the bird was shot in warm weather or if the internal organs have been left inside the bird.
Ideally, you should clean a pheasant within an hour or two of killing it. If you can’t clean it right away, you should at least try to keep it cool by placing it in a cooler or wrapping it in ice packs. This can help slow the growth of bacteria until you’re able to clean it.
It’s also important to note that many states and countries have regulations that require hunters to clean and prepare game birds in the field, rather than transporting them whole, like Iowa. Be sure to check the regulations in your area to make sure you’re following the rules.
How Long Does a Pheasant Last After Cleaning?
After you’ve cleaned a pheasant, it should be stored in the refrigerator at 40°F or below, and consumed within 1-2 days. If you don’t plan on cooking the bird in that timeframe, it’s best to just freeze it. A frozen pheasant can last up to about 6 months in the freezer.
When it comes to wild game like this, always err on the safer side. For pheasant hunts, we always bring an extra cooler to store the birds in to ensure that it stays cool and safe till my dad can get them in the pan.
What you should remember
Just like dressing deer or gutting fish, cleaning a pheasant can often come off as an unpleasant experience in the art of hunting. But it is an important part of the hunting journey, and the best way to respect the animal. Remember, if you don’t clean it right away, the meat can go bad, and a life is wasted.
When cleaning a pheasant, make sure you do it on a clean and flat surface to avoid getting debris or dirt into the bird. Use gloves if possible, and either way, wash your hands properly before and after!
While it may take some practice to become comfortable with the process, with these step-by-step instructions for plucking, skinning, and gutting, you’ll soon be able to enjoy the delicious flavor and satisfaction of one of the most classic game birds there is.

God I love pheasant.
Looking to clean any other animals? Check out our library of other hunting guides here.
Happy Hunting!
